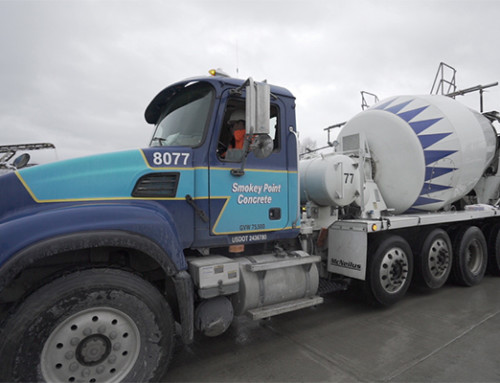
If you are looking to pour your own concrete pad, please read through the home owner tips for guidelines on a successful project. Keep in mind the bigger area you are pouring the more tools you will want.
Do-it-yourself recommended tools:
- Shovel
- 3lb Sledge Hammer
- Tape Measure
- Tamper
- Level
- Line Level
- Claw Hammer
- Hoe
- Wheelbarrow
- Hand Float
- Bull Float (For Large Pad)
- Edging Tool
- Grooving Tool
- Street Broom
Materials:
- Form Boards
- Stakes
- 2 x 4 long enough to screed the pad
- Gravel and/or Sand
- Concrete
- Visqueen
- Wire Rebar or Fibermesh
- Concrete Sealer
Tips to Preparing the Site:
- Identify location of slab: grade to, level off and grade off.
- Mark the corners of the pour site with stakes check to make sure stake is at least 6 inches in the ground and squared up.
- If the pad will be more than approximately 4 inches deep (which most pads are 4 inches), use gravel or sand to fill the difference in the space.
- To prevent free-standing water on your concrete pad, slightly slope pad, one-quarter inch of drop off per foot of length.
- Nail the form boards to the stakes, beginning with the high side
- After forms are set-up and leveled, cover the hole with Visqueen Plastic.
- When pouring concrete consider wire rebar or fibermesh to strengthen the concrete.
Tips to a Successful Project:
- Always have plenty of people to help with your project (experienced people preferred.)
- Select the proper concrete mix for the use of the site. If you are unsure, please ask dispatch when ordering.
- In order to receive requested pour time call days ahead of time to schedule your pour with dispatch, remember to order extra concrete anticipating spills, uneven ground, or blowouts.
- When driver arrives to jobsite make sure you communicate any unusual ground specifications (examples-soft road, drain field, low wires) and confirm hand signals for the pour.
- Wet concrete irritates and burns the skin, wear gloves.
